An In-Depth Look At WDT Tools
Whether you're looking to get your first WDT Tool or you currently already own one, here's everything you really should know about WDT Tools. I'll cover these topics in this article:
-
what makes WDT Tools the best distribution method
-
what to look out for in WDT Tools
-
how to use them to its maximum potential
[The BASICS]
What is WDT?

The Weiss Distribution Technique (or WDT) is primarily used to distribute and declump coffee grounds in an espresso basket. It involves using thin objects to pass through coffee grounds so ultimately water can flow through the puck more evenly and thus improve extraction evenness and hopefully result in better flavour. The WDT Tool is the object that applies this Weiss Distribution Technique to your coffee during espresso puck preparation. WDT Tools are particularly effective on clumpy coffee grounds, often found in lower-tier grinders, but they can also enhance results from high-tier grinders.
Other Distribution Techniques or Devices
Within the coffee community, there are several coffee distribution techniques. Some of these techniques include using your hands (Stockfleth Method, North-South-East-West, tapping the side, shaking) or the popular spinning distributor method. The effectiveness of each method widely varies, and suitability of each method also depends on the specific situation. For instance, in a busy cafe with tight time constraints, using the WDT for every shot may not be practical. However, for home baristas or cafes aiming for the best extraction and maximum flavor, I believe the WDT stands out as the superior distribution method if time allows. Let's delve into more details below.
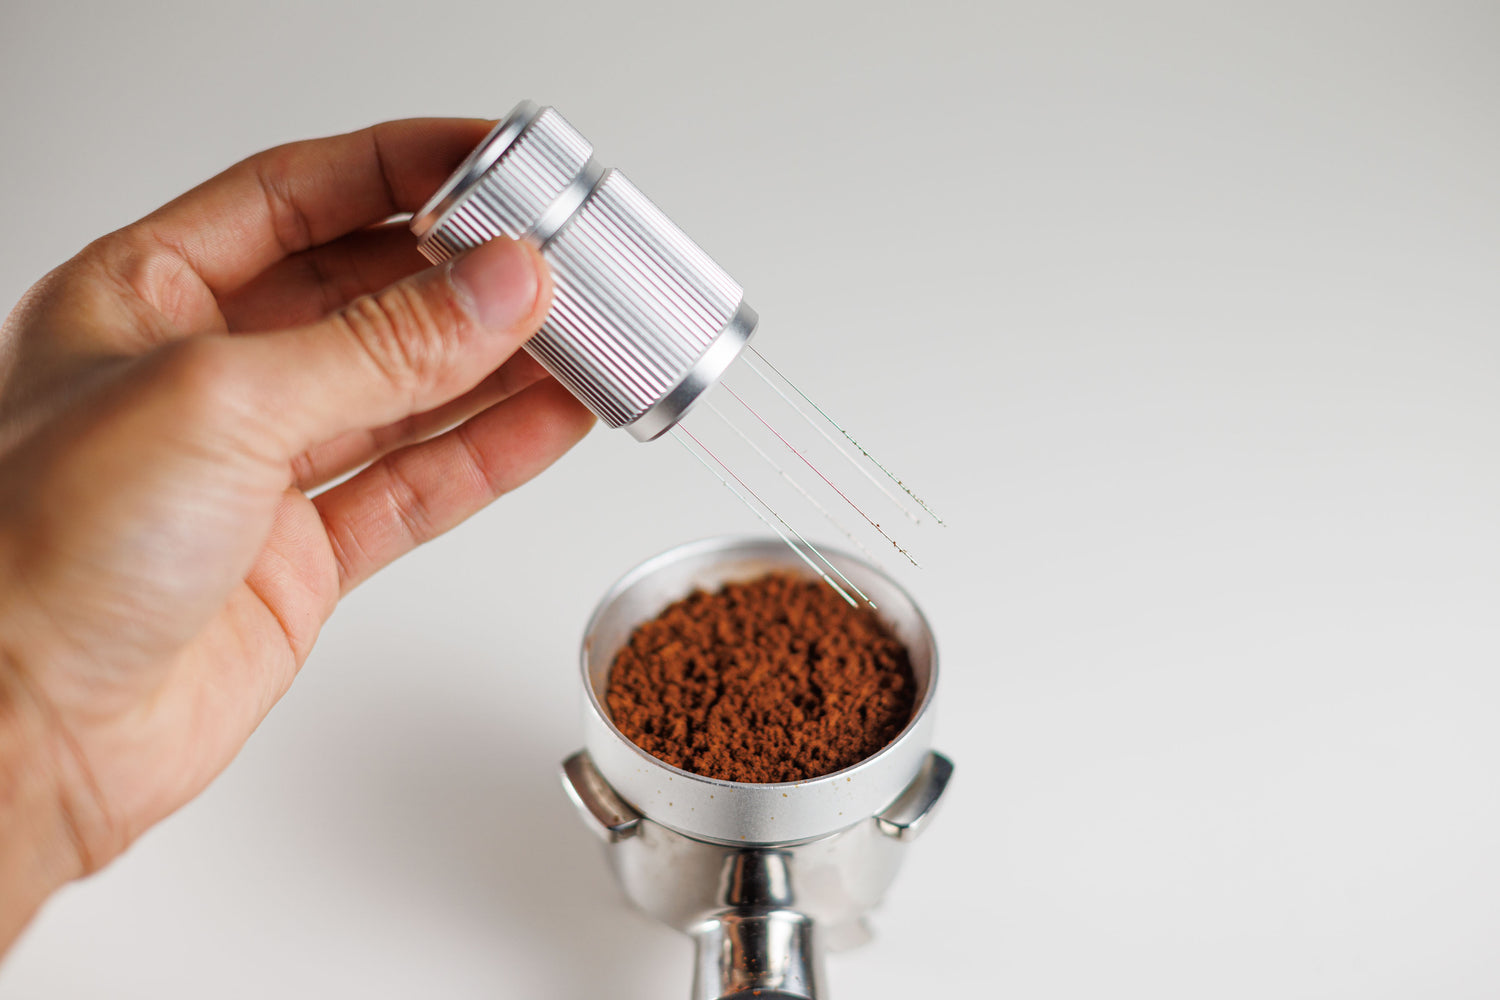
How to Use a WDT Tool

The goal of using the WDT Tool is to ensure thorough and even distribution of all coffee grounds within the basket's volume. Lance Hedrick's video demonstrates a great technique, involving small circular swirls while moving the tool in a large overall circular motion around the basket. Start with the needle tips touching the bottom of the basket, and slowly lift the tool as you complete multiple large revolutions. Eventually, the needle tips should only tickle the top of the coffee grounds, resulting in a very flat basket of grounds ready for tapping. Here's what a typical sequence of using the WDT Tool looks like.
This is a basic and yet effective technique for WDT, regardless of the type of WDT Tool. However, after we cover additional details below, it will become apparent that not all WDT Tools can be equally effective.
[The NERDY STUFF]
Let's Talk About The Spinning Distributor
The popular solid spinning distributor (not the Spirographic WDT Tool kind) may seem impressive and efficient at first glance, but it actually causes some severe issues just below the surface.

Although the top surface of the coffee bed looks beautifully flat after spinning the tool (which is nice to see), it doesn't necessarily mean that the grounds are properly distributed.
The moment you place the tool on your basket, the bottom of the tool instantly compresses some of the coffee grounds. These grounds don't even have a chance to be distributed. The remaining grounds that are in the troughs of the tool may be partially distributed during the rotation of the tool. Some of the grounds may be moved in a rotational manner while others may simply be compressed vertically.
In practice, it seems like it's designed to mimic hand techniques like the Stockfleth Method but in an even more inferior way. This is also to say that the Stockfleth Method may result in similar issues even when used properly, as the round profile of your finger directs the coffee grounds unpredictably sideways and vertically.
The biggest issue of both of these methods is that only the top portion of the entire volume of coffee grounds is affected. No amount of height adjustment of the spinny distribution tool can ever give you a good result because as we should be aware, distribution should be applied to the entire volume of coffee grounds, not just the top.
So, what does all this uneven density do? Why does it matter? The denser parts of the puck will cause more resistance, leading to water flowing through less dense areas more readily. This results in uneven extraction or, in the worst case, channeling which will severely worsen the flavour of the shot.
To me, the ideal distribution tool is one that can be used in a one-stop action and distributes the coffee grounds evenly, regardless of the starting state of the coffee grounds.
More Tips On How to Use a WDT Tool
In addition to the compounded big and small circular combing movements described above, there is a general concept of WDT that I'd like to mention. Most of the time, when the coffee grounds first arrive in the filter basket, they're usually highly uneven and look something like a mound. I like to divide the WDT sequence into two overall stages. The first stage is macro-distribution, which ensures that the coffee grounds are roughly evenly distributed across the entire filter basket. This means that any given "piece of the pie" of the basket has roughly the same amounts of coffee grounds. This is achieved by quick, large swirls of the WDT Tool. It's acceptable at this point for coffee grounds to move a lot, but you should aim to achieve a generally flat top surface by the end of macro-distribution.
The second half of the WDT sequence is what I call the micro-distribution phase. This is where you guarantee that the coffee grounds are really well distributed and clumps are completely broken apart in any given local area. During this phase, your WDT Tool should look like it's passing through the coffee grounds with minimal movement or travel of the coffee grounds. This is not something that all WDT Tools can achieve, and in the next sections I'll explain why.
What to Look Out For in WDT Tools
Needle Length
The length of the needles is very important in a WDT Tool. You need needles that are long enough to reach the bottom of the filter basket, while also providing enough clearance from the bottom of the WDT Tool to the top of the dosing funnel. By the way, a dosing funnel is quite useful during WDT action because it prevents spillover. I would highly recommend using one. For more details on dosing funnel specs, refer to the "Other Recommendations" section at the bottom. If needles are too short, then your tool may collide with the grounds, the filter basket walls, or the dosing funnel before you're able to reach the bottom of the basket, reducing your distribution effectiveness or prematurely compressing some coffee grounds. Introvert WDT tools have a standard needle length of 50mm, which is more than enough to cover most scenarios, even with really tall dosing funnels.

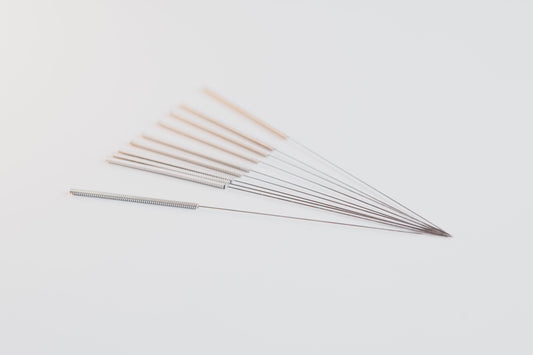
Needle Thicknesses
WDT Tool Needles come in a variety of different sizes. Generally, the thinner the needle is, the better it is, because it's doing more splitting of the coffee clumps rather than displacing them sideways as it moves through. However, there's a catch, because thinner needles are also more flexible. You don't want needles that are too flexible or else they won't let you comb the way you want, but instead give way to the coffee grounds, potentially affecting needle density the deeper it is in the basket. So, after you've selected the desired length of needles, the thickness comes next. My WDT Tools use needles with a diameter of 0.35mm, which I believe is the sweet spot, having the perfect balance of thinness and rigidity at the length of 50mm. Of course, if you have shorter needles, then you can afford to use a smaller diameter for a similar level of rigidity.

As these needles are still physical objects that move through the coffee grounds, they leave what I would call a "wake." Thinner diameters create smaller wakes, which are more desirable since they minimize disruption and variance of density. This should make it easier to fill up with a tap of the portafilter at the end.

Needle Density
Needle density is a crucial aspect that I see other WDT Tool makers largely ignore. Having more needles in the same given amount of area doesn't always mean better distribution. There seems to be a point of density where coffee grounds get trapped between the needles and stick together, causing them to move in unison when you swirl around the WDT Tool. When all the grounds move together, you're no longer distributing the coffee grounds effectively.
If your WDT Tool has a high density of needles and if it allows for the individual needle removal, it might be a good idea to remove some in between to "sparse it up."
Needle Angle

I've always been a big proponent of having a WDT Tool that can hold all the needles in parallel, allowing the needles to contact the same lateral position of the coffee grounds across the entire depth while combing. For this reason, I find it best to hold the WDT Tool completely vertically when combing. If needles are at an angle and create a cone-like shape, as seen with many other WDT Tools, it results in different coverage and needle density at any given depth. As I just discussed above regarding density, that may be the difference of the coffee grounds at a higher position being clumped and moved together while the ones on the bottom being better distributed. On the other hand, I believe parallel vertical needles would produce a more consistent distribution as you go deep and then shallow (more on that below), distributing the coffee in a uniform manner throughout the entire depth. Additionally, you'll have an easier time managing or keeping track of which areas you've combed or haven't combed. Although the tips of the fanned-out needles can also eventually comb through all depths of the coffee grounds as you slowly raise the tool, it's a lot harder to maintain consistent combing.
Needle Tips

Looped Tips: These are definitely not the way to go. Please do not use these WDT Tools. These tips will wreak havoc on the coffee grounds and possibly worsen distribution.
Sharp Tips: Any time the tip diameter is equal or less than the main shaft of the needle is a good thing. You will have to be more careful not to prick yourself when the tips are sharp. I get asked this often: "Will it scratch my basket?" In my personal experience I haven't seen the sharp needle tips cause scratches on my stock Breville baskets and IMS baskets. Your mileage may vary. Please note that simply trimmed tips and therefore flat tips might still have sharp edges.
Rounded Tips: This may be the best type of tips to get in terms of safety but they should functionally be the same as sharp tips.
Ease of Needle Replacement
In the event of a needle needing replacement, it's important to consider how easy it is to specifically remove that needle and replace it without affecting the others, or without making the process overly finnicky. The needles in my WDT Tools are all individually, independently sitting in their own compartments, so they can be extracted without causing other ones to dislodge, dislocate, or fall out. Due to the tight tolerances though, if the needle is bent too much at the outset, you may need to make sure is to bend the bent needle back to a relatively straight shape so that it can be pulled out more easily.
WDT Tool Maintenence
After each use of the WDT Tool, you can shake the grounds off of the needles by tapping the side of the WDT Tool against the dosing funnel before putting it back in its holder. This keeps your workplace and holder cleaner, and also reduces that tiny bit of coffee grounds around that can get stale.
To clean the WDT needles, you can use a damp towel and wipe them from the bottom of the tool outwards towards the tip. It's a good idea to do this once in a while to prevent buildup of oil, which causes the stickiness.
For Introvert WDT Tool bodies, wiping it with a tamp cloth or towel should be enough. A brush could be used to get particles out of the crevices. Please don't put it in the dishwasher.
Other Recommendations
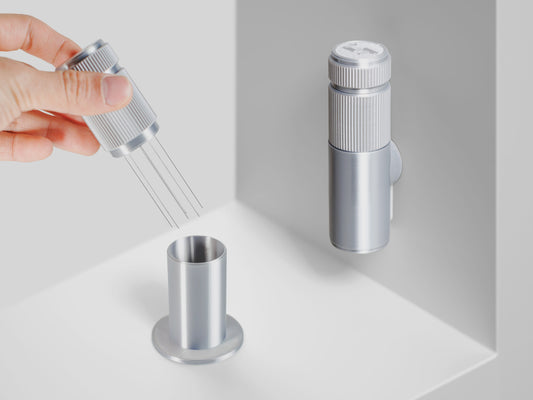
- The best results are achieved with a dosing funnel attached for the entire duration of WDT-ing. This prevents spillover of the coffee grounds during WDT distribution. Use the type of dosing funnels that sit on and around the outside of the rim of the basket, so that the inner opening diameter matches the basket's. This way, when you look at the basket from the top-down view, you have access to the entire surface area of the coffee grounds.
- After you're done combing with the WDT Tool, tap the portafilter on a flat, level surface to help settle all the grounds. The hardness of the surface matters and will settle grounds differently.
What's The Best WDT Tool Available?
In conclusion, this matter is indeed quite complicated, and while I cannot outright claim that my store sells the absolute best WDT Tools, considering all the parameters mentioned above, the ones I provide here at Introvert would be the most suitable choice.
-Andrew
Featured WDT Tools
-
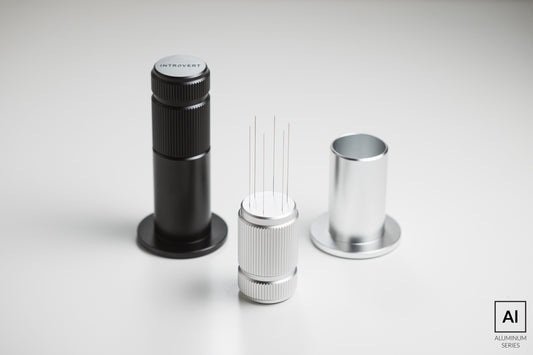
WDT Tool - Solid Aluminum
Regular price From $105.00 CADRegular priceUnit price per$105.00 CADSale price From $105.00 CAD -
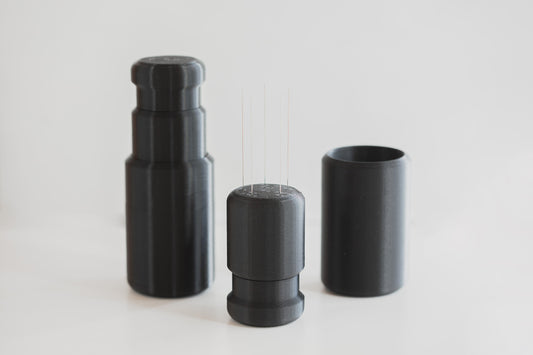
WDT Tool Knurled Style (Plastic) - With Wall Mount Or Tabletop Holder
Regular price From $45.00 CADRegular priceUnit price per$45.00 CADSale price From $45.00 CAD -
WDT Tool Classic (Plastic) - Configurable Layout With Holder
Regular price From $25.00 CADRegular priceUnit price per$25.00 CADSale price From $25.00 CAD -
Extra Needles for WDT Tools
Regular price From $5.00 CADRegular priceUnit price per$5.00 CADSale price From $5.00 CAD